
Decoration for floor plans with photo gallery walls in villas
realm of interior design, creating a harmonious and visually appealing living space is an art form that combines functionality with aesthetic appeal. One particularly effective way to personalize and enrich the ambiance of a villa is through the strategic use of photo gallery walls. These curated displays not only add a perso nal touch but also serve as a conversation starter, reflecting the unique tastes and experiences of the homeowners.
Choosing the Right Location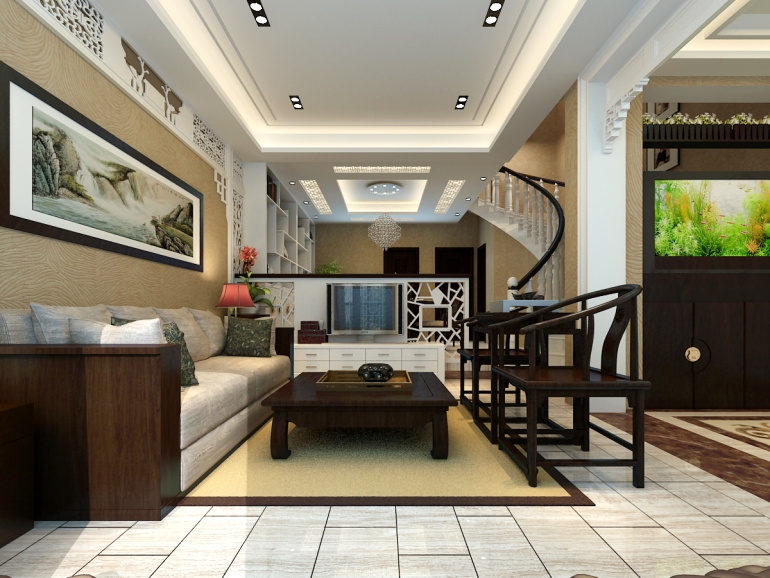
The first step in incorporating a photo gallery wall into your villa's floor plan is selecting the right location. High-traffic areas such as hallways, living rooms, or staircases are ideal spots. These areas naturally draw attention and provide ample wall space for displaying a variety of photos. Additionally, consider the natural light in these areas; well-lit spaces can enhance the visual impact of your gallery.
Designing Your Gallery Wall
1. Theme and Style: Decide on a theme or style for your gallery wall. This could be based on travel memories, family portraits, black-and-white photography, or a mix of different genres. A cohesive theme helps create a more polished look.
2. Frame Selection: Choose frames that complement your villa’s decor. Mixing frame styles can add depth and interest, but ensure they share a common color palette or material (e.g., wood, metal, glass). Consistent matting can also help unify the display.
3. Arrangement: Plan the layout before hanging any frames. Use a large piece of paper to sketch out the arrangement or lay out the frames on the floor to visualize the final look. Consider using a grid pattern, a random scatter, or a flowing diagonal line to guide the eye.
4. Hanging Techniques: Use appropriate hardware for hanging heavy frames securely. For a professional finish, measure and mark the wall carefully to ensure everything is level and evenly spaced.
Enhancing the Villa’s Atmosphere
A well-executed photo gallery wall can significantly enhance the atmosphere of your villa. Here are some tips to maximize its impact:
1. Lighting: Proper lighting can transform a gallery wall from good to great. Install track lighting or recessed lights above the wall to highlight spe cific pieces. Soft, ambient lighting can create a warm and inviting feel.
2. Complementary Decor: Incorporate other decorative elements around the gallery wall, such as plants, sculptures, or rugs, to create a balanced and cohesive look. These additions can draw attention to the wall without overwhelming it.
3. Seasonal Changes: Keep your gallery wall fresh by periodically updating the photos. Seasonal changes or new additions can keep the space feeling dynamic and engaging.
Integrating with Other Design Elements
To ensure your photo gallery wall integrates seamlessly with the rest of your villa’s design, consider the following:
1. Color Palette: Align the colors in your photos with the overall color scheme of the room. This can create a sense of continuity and harmony.
2. Furniture Placement: Arrange furniture in a way that complements the gallery wall. For example, placing a sofa or console table beneath the wall can create a focal point in the room.
3. Artistic Balance: If you have other artworks or decorative items in the room, balance them with the gallery wall. Avoid overcrowding one area while leaving another barren.
Conclusion
Creating a photo gallery wall in your villa is a rewarding project that adds both beauty and personality to your home. By thoughtfully choosing the loc ation, designing the layout, and enhancing the surrounding environment, you can turn a simple wall into a stunning feature that reflects your unique story and style. Whether you opt for a minimalist approach or a more ecle ctic display, a well-curated gallery wall has the power to transform your living space into a truly special place.