
Villa renovation for wallpapered walls
Renovating a villa can be an exciting yet daunting task, especially when it comes to dealing with existing wallpapered walls. Whether you're looking to update the look of your home or simply give it a fresh new feel, tackling those wallpapered walls is a crucial step in the process. This guide will walk you through the key steps and considerations involved in renovating a villa with wallpapered walls.
1. Assess the Condition of the Wallpaper
Before diving into any renovation project, it's essential to assess the condition of the existing wallpaper. Some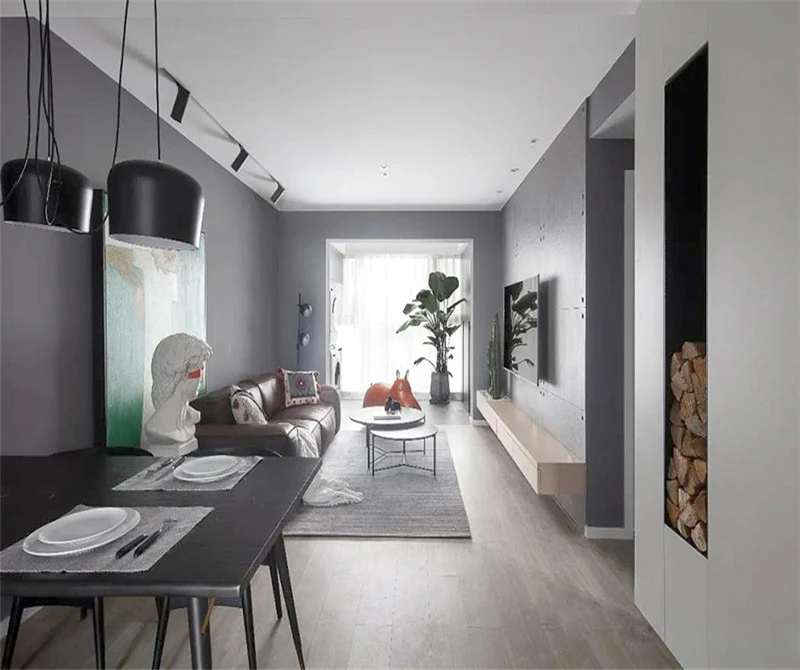 questions to consider include:
- Is the wallpaper peeling or damaged?
- Are there any signs of mold or moisture issues?
- How old is the wallpaper?
If the wallpaper is in relatively good condition, you might have more options for what to do next. However, if it's severely damaged or outdated, removing it entirely might be the best course of action.
2. Decide on Your New Look
Once you've assessed the condition of the wallpaper, decide on the new look you want for your villa. Do you prefer a modern, minimalist design? Or perhaps a more traditional, ornate style? Consider factors such as color schemes, textures, and materials that will complement your overall interior design vision.
3. Prepare the Walls
Preparing the walls is a critical step before applying any new finishes. If you decide to remove the wallpaper, follow these steps:
Test a Small Area: Start by testing a small area to see how easily the wallpaper removes. Use a wallpaper scraper and warm water or a wallpaper remover solution.
Remove Adhesive Residue: Once the wallpaper is off, use a degreaser or adhesive remover to clean the walls thoroughly.
Repair Any Damage: Fill in any holes or cracks with spackle or wall filler, then sand the surface until it's smooth.
If you choose to keep the wallpaper, ensure it is securely adhered to the walls. Apply a coat of primer to seal the wallpaper and create a smooth base for painting or applying new wallpaper.
4. Choose Your Finishing Touches
After preparing the walls, it's time to apply your chosen finishing touches. Here are some popular options:
Paint: Painting over wallpaper (if it's in good condition) can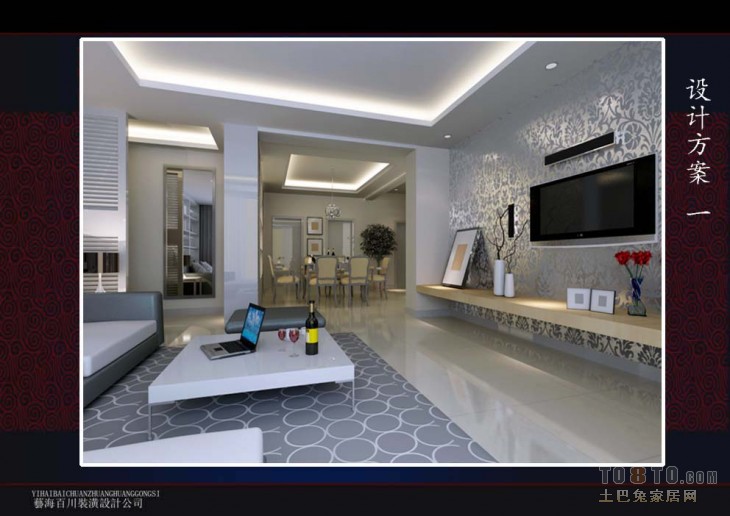 be a quick and cost-effective way to refresh your space. Choose high-quality paint and apply at least two coats for the best results.
New Wallpaper: If you love the idea of wallpaper but want a different pattern or design, consider installing new wallpaper. Measure your walls accurately to determine the amount needed, and hire a professional if you're not confident in your DIY skills.
Textured Paint or Stencils: For a unique touch, try textured paint or stenciling. These techniques can add depth and character to your walls without the commitment of full wallpaper.
5. Final Touches and Maintenance
Once your new walls are in place, add final touches like lighting fixtures, artwork, and decorative elements to complete the look. Regular maintenance is also important to keep your walls looking their best. Clean them regularly with a damp cloth and address any damage promptly to prevent further issues.
Conclusion
Renovating a villa with wallpapered walls requires careful planning and execution, but the end result can be truly transformative. By assessing the condition of your existing wallpaper, deciding on your desired look, and following proper preparation and finishing techniques, you can achieve a beautiful and functional living space that reflects your personal style. Whether you opt for a fresh coat of paint, new wallpaper, or a creative textural finish, the key is to take your time and enjoy the process of creating your dream home.